Installing Local
You can get Local from the official website, it's available for Linux, macOS and Windows. Follow the on-screen instructions to install Local on your computer. You do not need a Local account to work with Local and Sail.
Create a Local site
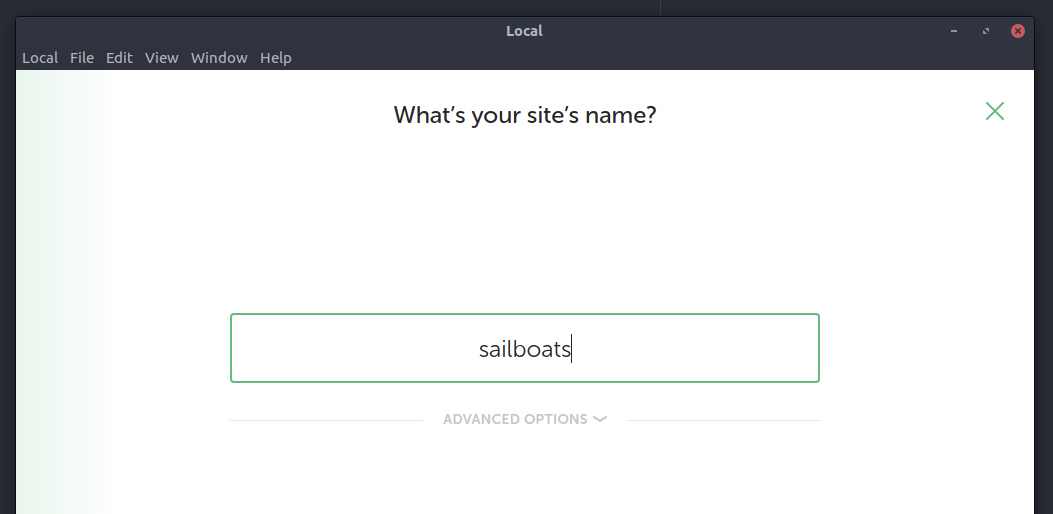
Hit the Add Local Site button on the bottom-left corner of the Local user interface, and follow the on-screen instructions to create and start a new site. For this guide I created a site called sailboats.local:
After the services have been provisioned and the site is up and running, make
note of the location of your local site, it's usually ~/Local Sites/sitename.
Create a new Sail project
Open your terminal at the location of the new Local site. Note that you can right-click the site name in the Local UI and hit the Open Site Shell item in the context menu. This will open the default system Terminal at the site location, as well as set up the terminal environment with the correct WP-CLI, PHP and other executables, which could be useful.
Before creating a new Sail project, you'll need to backup your wp-config.php
file, so that you don't lose the database credentials. We recommend simply
renaming it to .wp-config.local.php:
cd ~/Local\ Sites/sailboats/app/public
mv wp-config.php .wp-config.local.php
Then run sail init with the --force flag (since the directory is not empty):
sail init --force
Note that this will download a fresh copy of the application files from the newly created Sail project, potentially overwriting any files locally, so if you're working with an existing site in Local that is not blank, it is recommended that you copy all the files to a different directory first.
Dual wp-config.php
You'll notice that the production database credentials in wp-config.php are
different from the ones you had locally in your .wp-config.local.php so you'll
need a way to use both, to make sure both your production and local environments
are loaded correctly.
We recommend simply including the local configuration file from your production
configuration file, by adding the following code to the very top of your production
wp-config.php:
<?php
// Load local development configuration file
if ( file_exists( __DIR__ . '/.wp-config.local.php' ) ) {
    require_once( __DIR__ . '/.wp-config.local.php' );
    return;
}

// Production config below this line
It is up to you how to name the local development configuration file, however
please note that sail deploy by default will copy all the files in your Sail
project directory to production, except any dot-files. This is why the
recommended file name is .wp-config.local.php.
Getting WP-CLI to work with a local wp-config.php
WP-CLI has its own quite complex way of reading and loading the WordPress configuration file. Notably, it attempts to execute everything in wp-config.php except the last statement that loads wp-settings.php.
For WP-CLI to work correctly with a local configuration file that's being
included from the production wp-config.php, it is recommended to not load
wp-settings.php in a WP-CLI context. This can be done by checking the WP_CLI
constant. Find the following line in your .wp-config.local.php:
require_once ABSPATH . 'wp-settings.php';
And replace it with:
if ( ! defined( 'WP_CLI' ) ) {
    require_once ABSPATH . 'wp-settings.php';
}
This way WP-CLI will work both in production, as well as your local environment.
Syncing the Database
Often times you'll want to copy the production database to your local environment. You can do this with Sail. Simply export the database from the production server:
sail db export
The database dump will be compressed by default. Uncompress it with gunzip and
use WP-CLI shipped with Local, to import this database into the Local site:
gunzip .backups/2021-10-13-101625.sql.gz
wp db import .backups/2021-10-13-101625.sql
If the wp db import command is not working, it is likely that your current shell
is not configured to the correct WP-CLI instance. Try and open a new one from
the Local user interface by right-clicking the site name from the menu on the left
and selecting Open Site Shell.
Replacing the domain name
The database export from production will have all links set to your production
primary domain, which you can change to your local development domain with the
WP-CLI search-replace command:
wp search-replace 'https://production.org' 'http://sailboats.local' --all-tables
If you're unsure what the production URL is, simply run wp option get home.
Deploying to production
When you're happy with your changes locally, you can deploy them to production
with sail deploy, and quickly sail rollback if you made a mistake. You can
learn more about deploying here.
While possible with sail db import, we do not recommend deploying the local
database to production, as this may cause split-brain situations and has the
potential for data loss.
If you're stuck and need help with your local development environment setup with Sail CLI, please visit the getting help section.